

Paying with NectarPay — Step 4: After You Pay
What you see after you pay: signature, email receipt, Payment received, and your transaction ID.
Who this is for: shoppers who want to pay a merchant with crypto through NectarPay — at the counter or online.
In this series:
Step 1 — What is NectarPay?
Step 2 — The wallet you'll need
Step 3 — Paying at the counter or online
Step 4 — After you pay
Step 5 — Mistakes and refunds
Step 6 — Where to spend
Step 4 — After you pay
What this step does: shows what you'll see once your payment lands.
At the counter
Depending on the merchant, the till may ask for two quick things first:
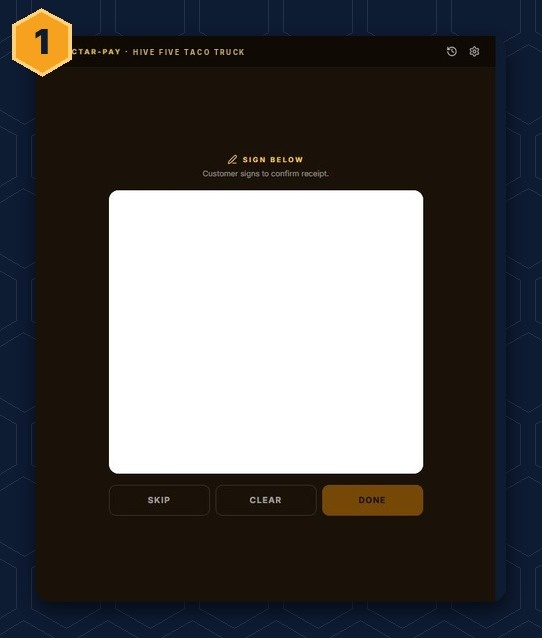
1 — Sign
"Sign below" — sign with your finger to confirm you paid. The merchant can also skip this.
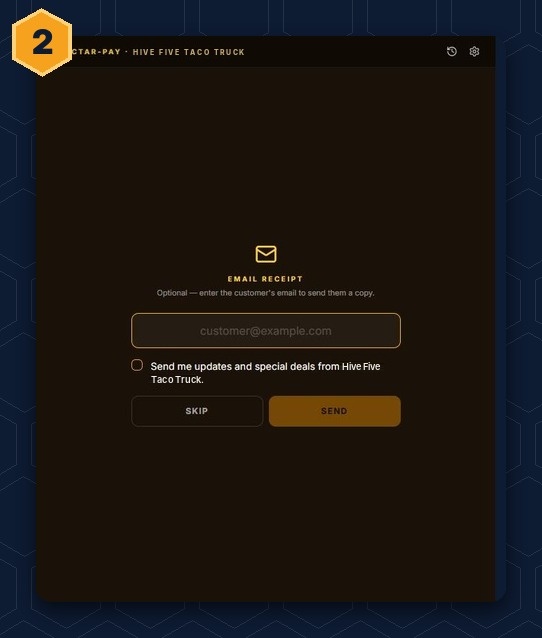
2 — Email receipt (optional)
Type your email if you want a receipt. The box "Send me updates and special deals" is unticked — leave it that way if you only want the receipt.
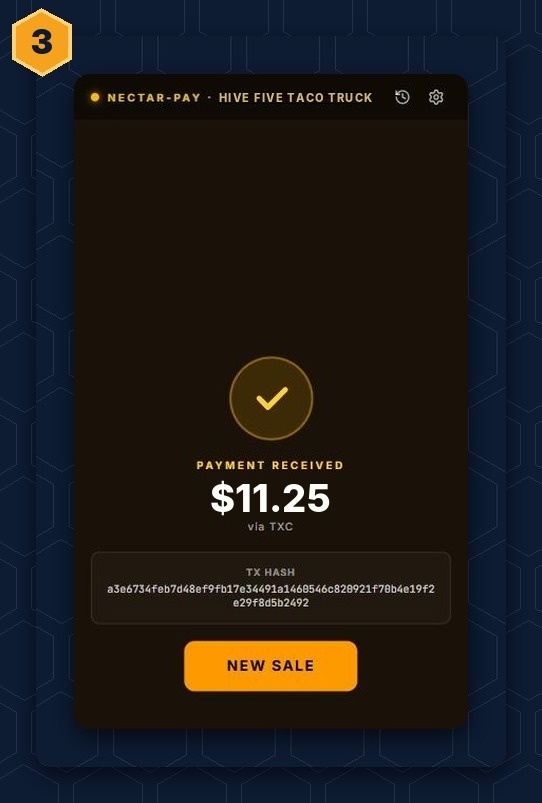
3 — Payment received
The till shows Payment received and the transaction ID.
Your email receipt shows the total, any tax and tip, how you paid, and a receipt number. The receipt itself says it doesn't sign you up for marketing.
Online
The payment page changes to "Payment received — Thank you" and says the merchant has been notified. Want a receipt? Use the Email receipt box on the same page.

In your wallet
Your wallet shows the payment as sent. Paying in TSD? Your wallet may say token transfers show once the transaction confirms — usually a few minutes on TEXITcoin. That's normal.
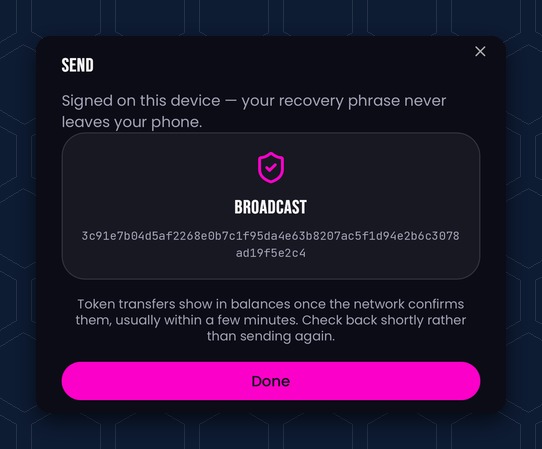

Keep your transaction ID (your wallet shows it after you send). If there's ever a question about a payment, it's the proof.

Next: Step 5 — Mistakes and refunds
Questions? Buzz us — open a ticket.