

How to Accept TXC Payments Through Nectar Pay
How to Accept TXC Payments Through Nectar Pay
Follow the steps below to enable and accept TXC (Texit Coin) payments through Nectar Pay.
Step 1: Log In to Nectar Pay
- Go to app.nectar-pay.com.
- Log in to your Nectar Pay account.
- Once logged in, you will be taken to the Overview page.
Step 2: Open Your Store Settings
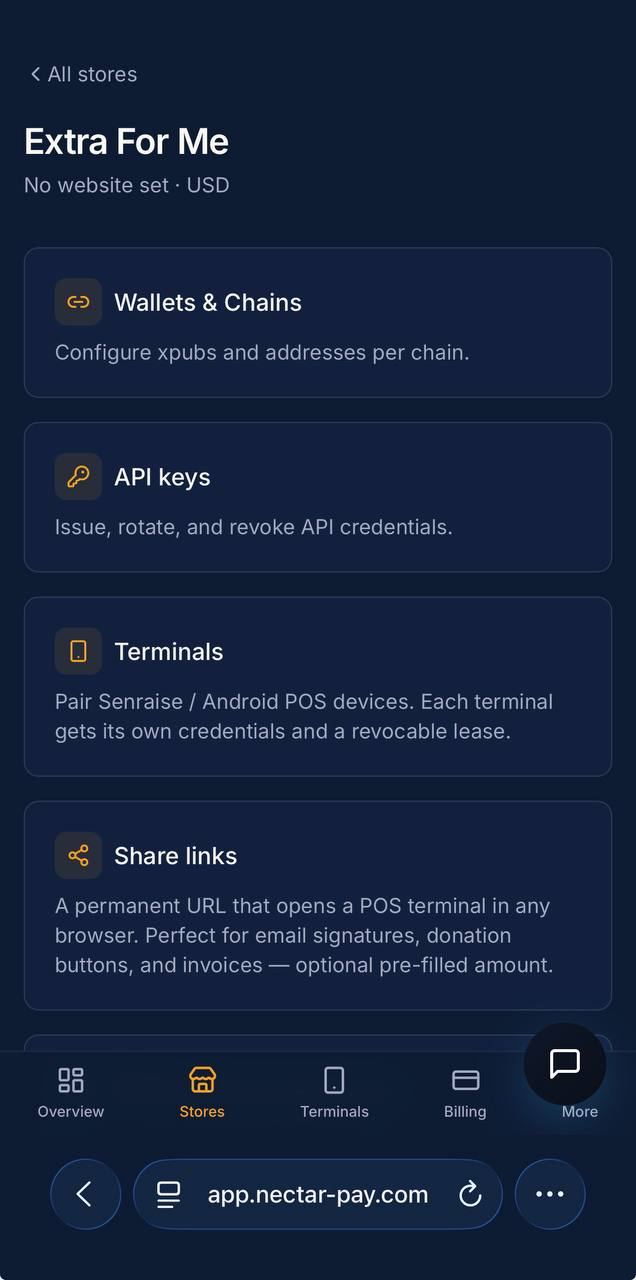
- At the bottom of the screen, select Stores, which should be the second button.
- Select your website/store from the list.
- This will open the settings for your store.
Step 3: Enable the Required Chain Settings
- Select Wallet & Chains.
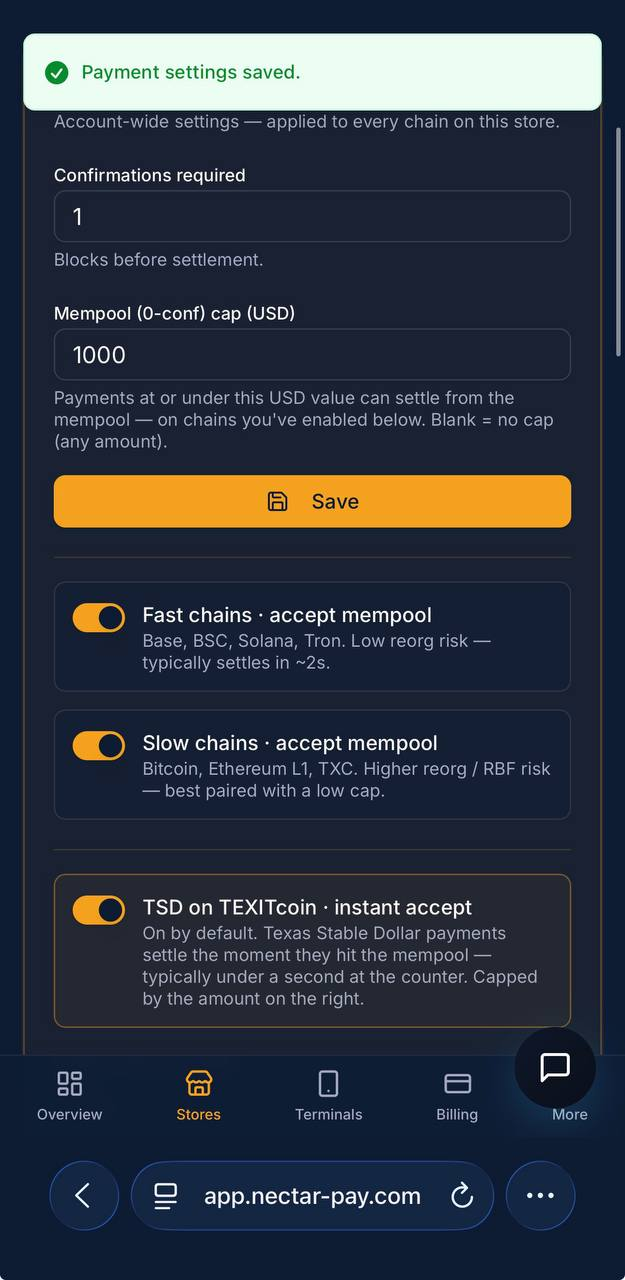
- Locate the Slow Chains setting.
- Turn on Slow Chains, Except Mempool.
- Press Save to confirm your changes.
Step 4: Enable TXC Native
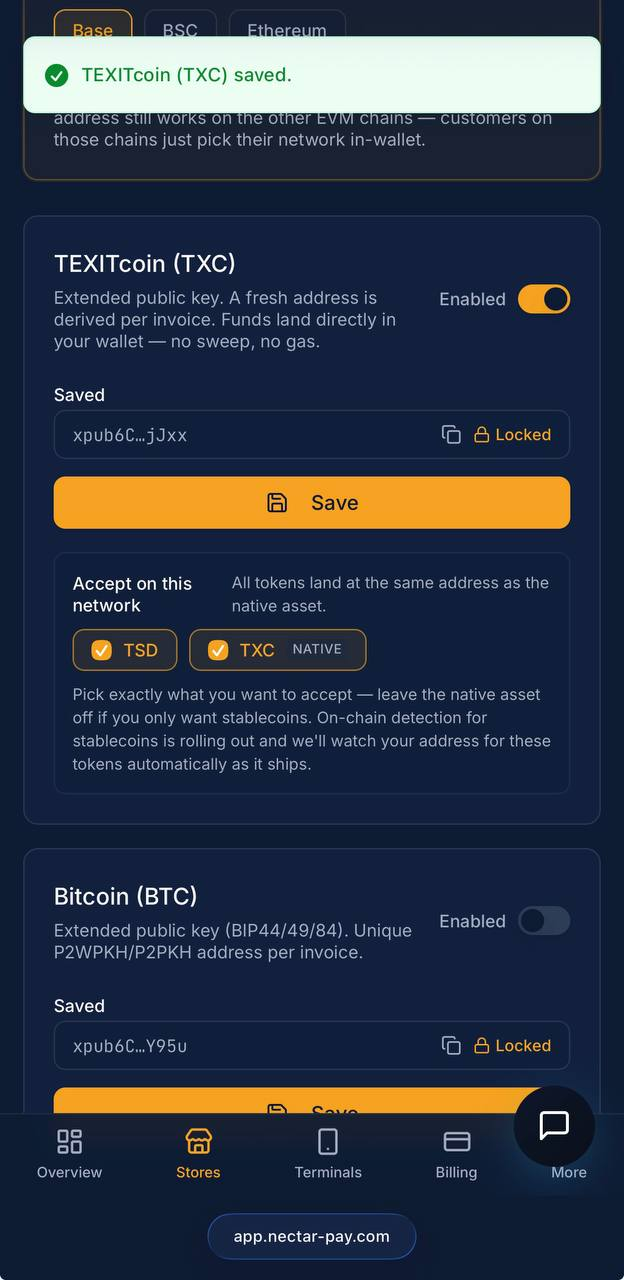
- Navigate to the Texit Coin (TXC) section.
- Select TXC Native.
- Make sure TXC Native is enabled.
- Press Save.
Your store should now be configured to accept TXC payments.
Step 5: Accept a TXC Payment on the Terminal
Once TXC has been enabled, you can accept a payment directly from the Nectar Pay terminal:
- Enter the payment amount on the terminal.
- Press Charge.
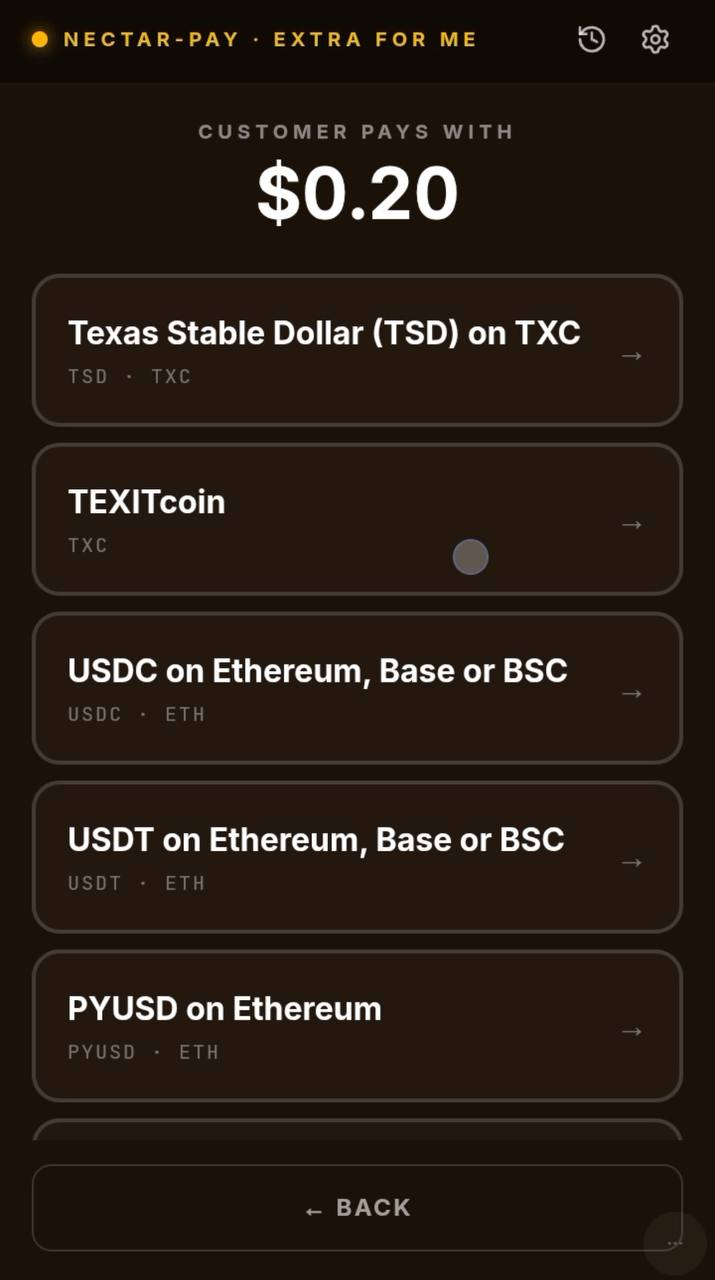
- Select Texit Coin (TXC) as the payment method.
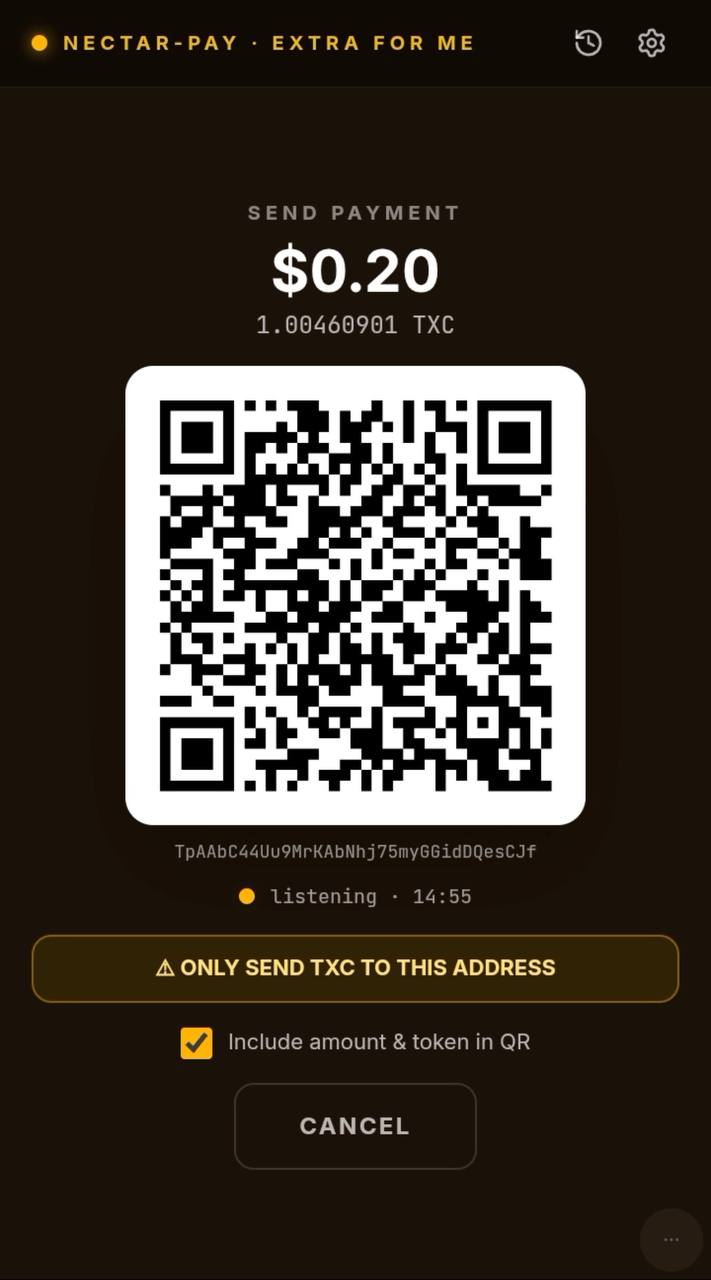
- A QR code will appear on the terminal.
- The customer scans the QR code using their compatible wallet.
- The customer confirms and sends the TXC payment.
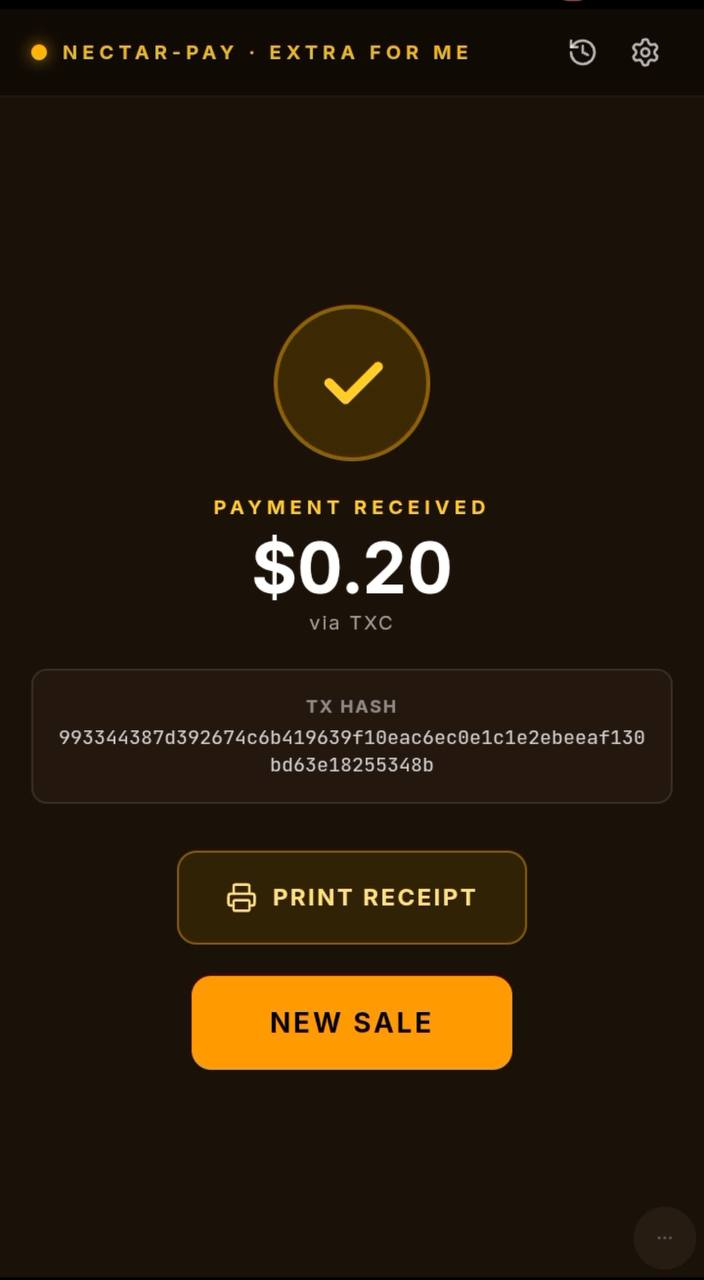
- Once the payment is successfully processed, the transaction is complete.
Quick Summary
To accept TXC payments, first enable Slow Chains, Except Mempool and TXC Native within your Nectar Pay store’s Wallet & Chains settings. Once these settings are saved, TXC can be selected as a payment option when processing a transaction on the terminal.